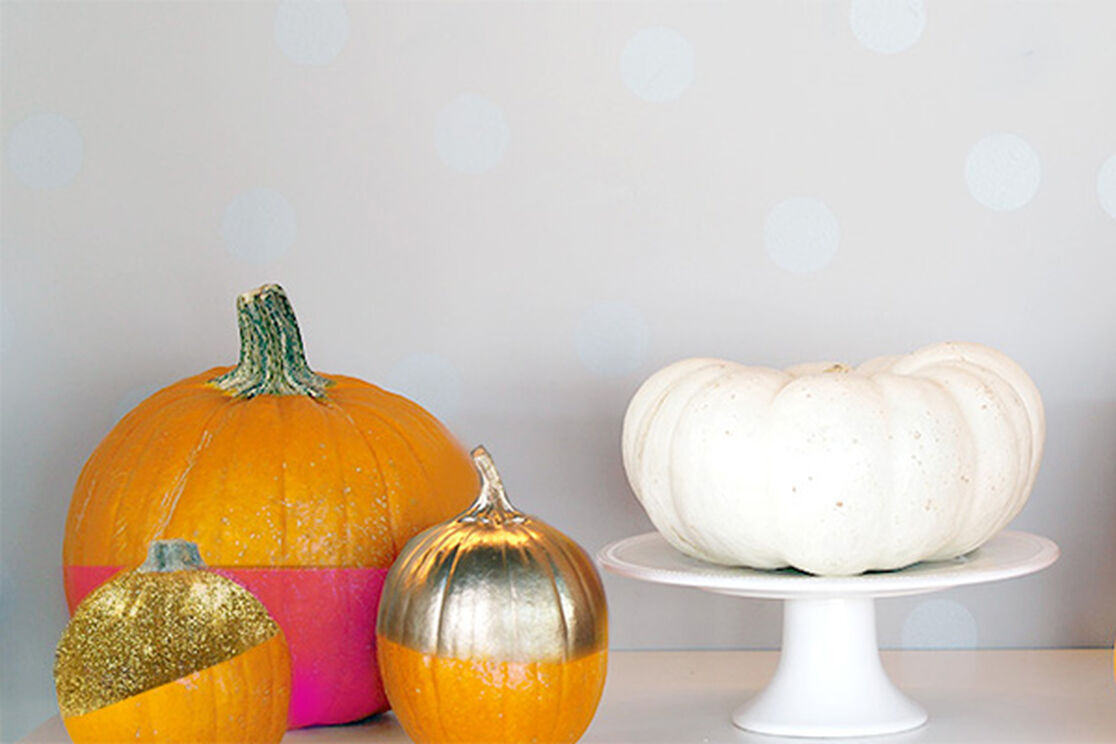
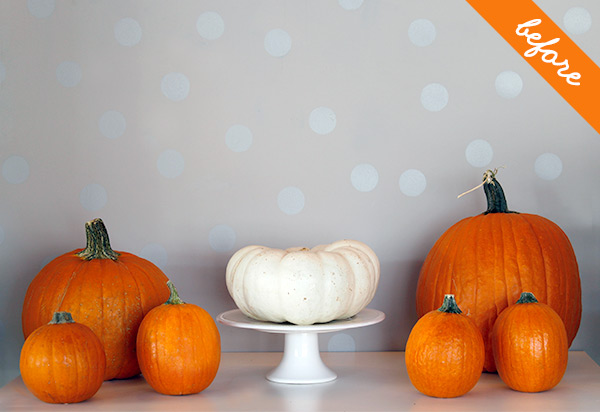
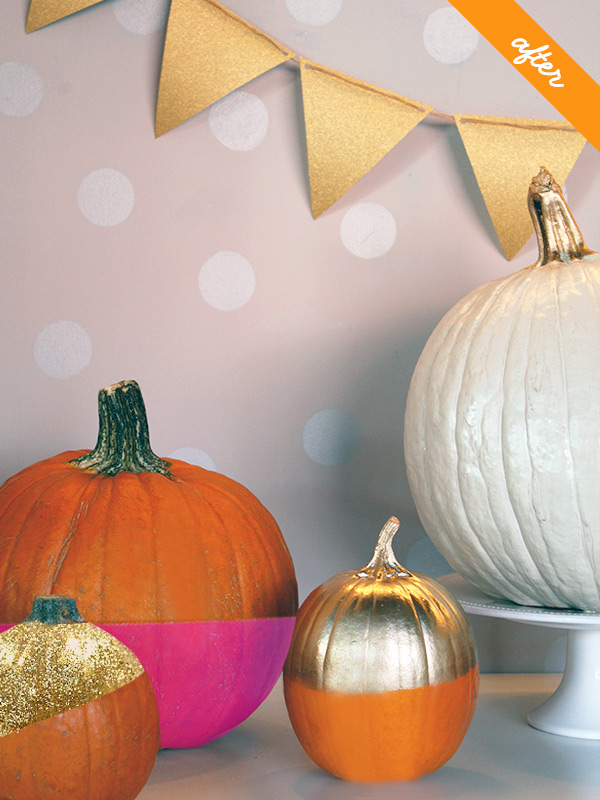
Did you know the tradition of decorating pumpkins dates back to the 19th century (and they actually used turnips as well as gourds)? While we love a good classic, sometimes traditions need a fresh twist: Today’s painted pumpkins are more than just on-trend — check out the reasons we chose to play with paint, then let the pumpkin be your palette!
- Safety: No knives required. Parents can breathe easy and let their little ones get involved. No accidental boo-boos this year!
- Staying power: A carved pumpkin is exposed to natural elements, causing it to rot much quicker than an uncarved pumpkin — especially for our friends living in warmer regions. Painted pumpkins have a much longer lifetime, so you can enjoy your masterpieces all season.
- Style: Color, color, and more color — your options are endless! Feel free to let the kids go wild, and experiment with different paint types, tints, and textures.
- Simplicity: Painted pumpkins have half the clean-up of their carved counterparts. Much less mess = much happier Mom!
DIY Painted Pumpkins:
Materials
Pumpkins (all sizes!)
Non-toxic paint (all colors!)
Paint brushes
Masking tape
Newspaper
Instructions
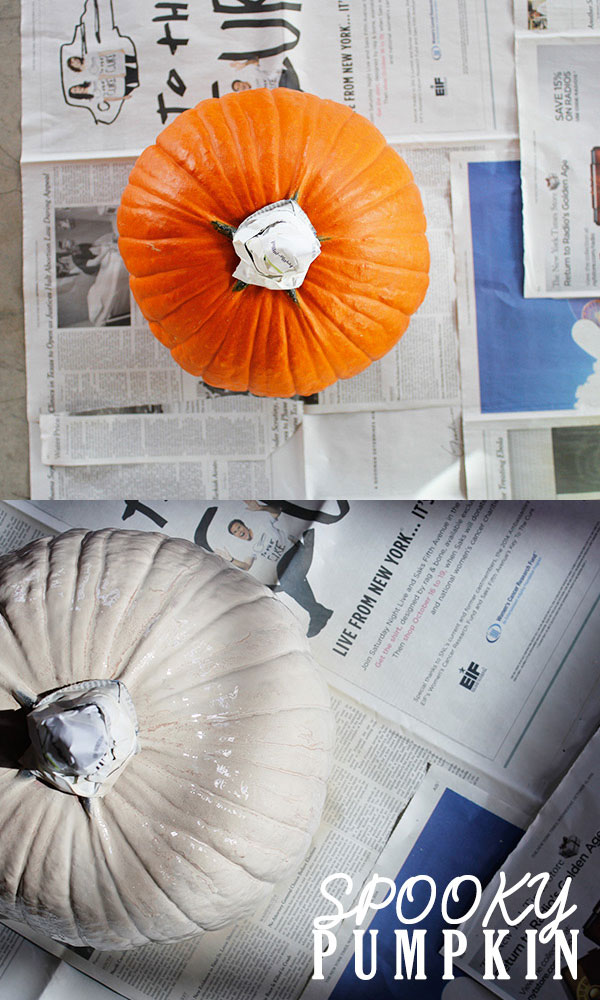
1. Wipe your pumpkins clean of any dirt — this will help your paint go on evenly. Cover your surface with newspaper to keep your work area clean.
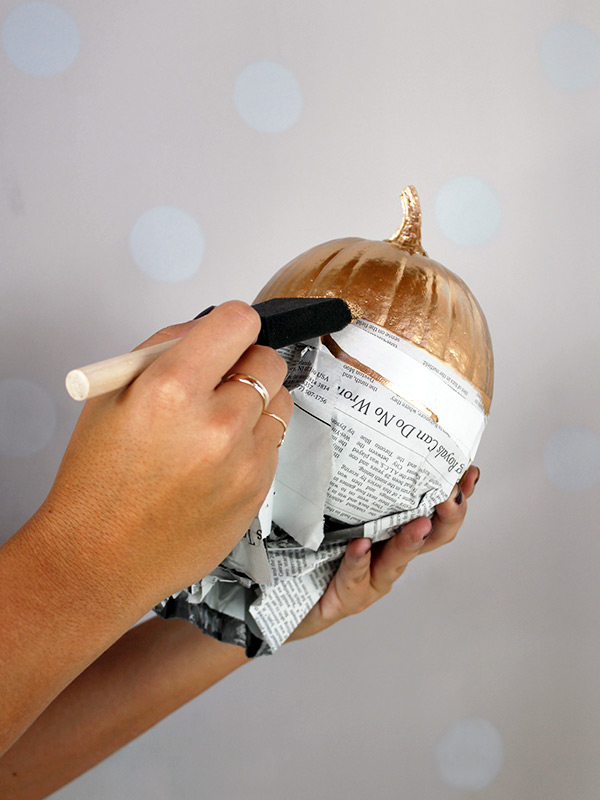
2. Use masking tape and newspaper to mark off areas that you want to paint. If you are covering the entire pumpkin with a single color, skip this step.
3. Paint away!
4. Let painted pumpkins dry overnight, then let the little ones display them around the house with pride.
Have a happy and healthy Halloween! Be sure to check out more Honest Halloween favorites on our Pinterest page.
We aim to provide you with the most honest and credible information possible. This article was reviewed for accuracy by The Honest Team and was written based on sources that are linked at the bottom of the article.
blog_review_statement