


How to Do Winged Eyeliner 4 Ways, According to Daniel Martin

Daniel Martin, Honest Beauty’s color consultant (and winged eyeliner aficionado) is here to simplify the cat eye with our vegan Liquid Eyeliner - a beauty breakthrough that helps to achieve a clean line without any carbon black, oils or parabens. With its precise felt tip, it’s easy to wing the liner from simple to saturated, basic to bold in a few strokes. No eyeliner hacks needed, our liner really makes getting the perfect winged liner that easy!
This eye makeup can be tailored to any occasion whether you're looking to achieve a bold look paired with eyeshadow, false lashes and all or you’re going for a standalone natural-looking thin line to open up the eye. Whichever eye makeup style you most prefer, this winged liner is not only diversifiable for the occasion, it is also suitable for any eye shape. Calling all round eyes, almond eyes, downturned eyes, or hooded eyes - we have you covered.
While you can use any type of eyeliner for a wing (pencil, gel liner, or eyeliner pen), precision is the name of the game when it comes to the winged eye. That's why we recommend always opting for a liquid liner to get a precise, perfect winged liner look that's long-lasting and smudge-proof. Now, let's learn how to do winged eyeliner!
Look 1: The (Easy) Flick
This is the easiest way to do winged eyeliner and a great place to start if you’re just getting the hang of liquid eyeliner — or just need to get out the door quickly. With a simple flick, you’ll create a longer-looking upper lash line with this winged eye look.


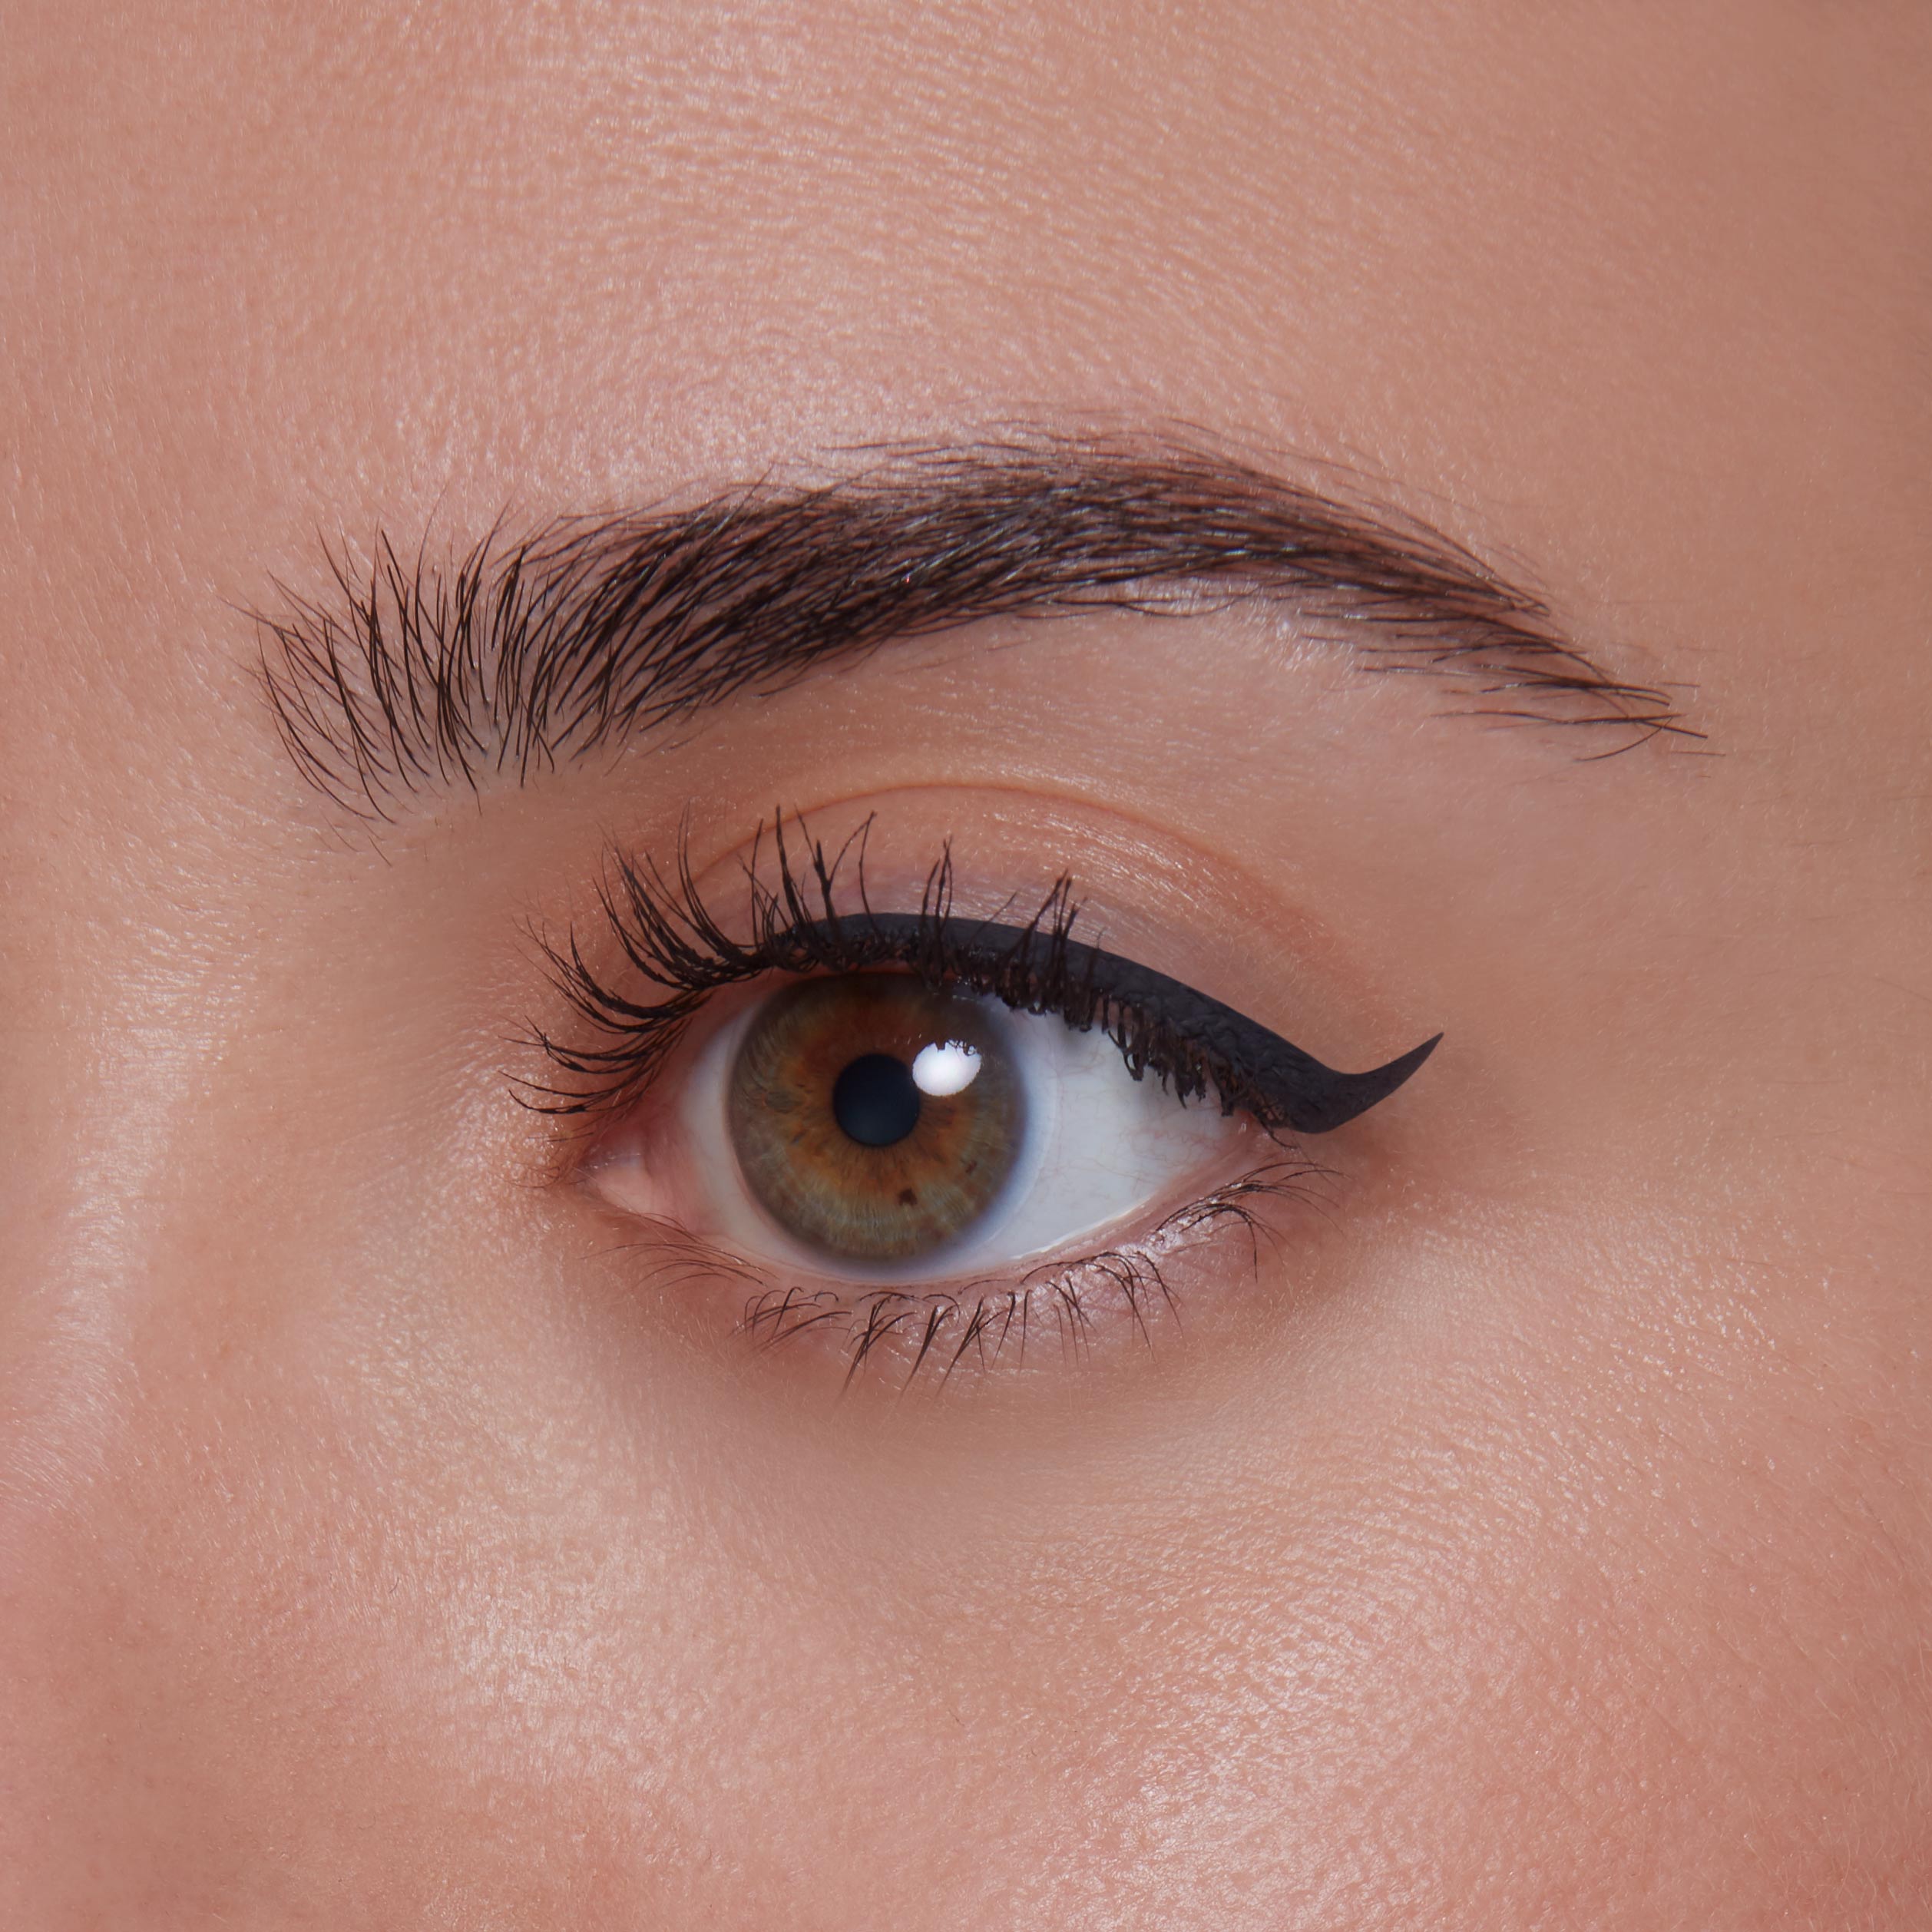
How to do the flick:
-
Start from the outer corner and draw inward, stopping at the center of the eyelid.
-
Then draw from the inner corner until your line meets in the middle of the upper lash line. Use a light hand when drawing your line in the inner corner to ensure the eyeliner isn't too harsh.
-
Now it's time for the best part - the wing! Finish the winged eye by drawing a thin, angled line starting from just outside your lash line to the outermost part of the liner you’ve already applied. Decide on the angle of your wing by following the natural angle of your lower lash line (this will differ based on your eye shape). Fill in the flick with small, light strokes.
Daniel Martin’s easy tip for a perfect winged eyeliner:
Don’t worry about getting the flick perfect on the first go — you can always clean it up with a cotton swab dipped in little Magic Beauty Balm later. The natural oils will gently take off what you don’t want to refine your line for the perfect flick.
Look 2: The Classic Cat Eye
This eyeliner style is not only a classic, but a versatile way to switch up your eye makeup by adding layers (and thickness) for an even bigger, bolder winged statement. Luckily, our Cat Eye Kit has everything you need to complete the look!


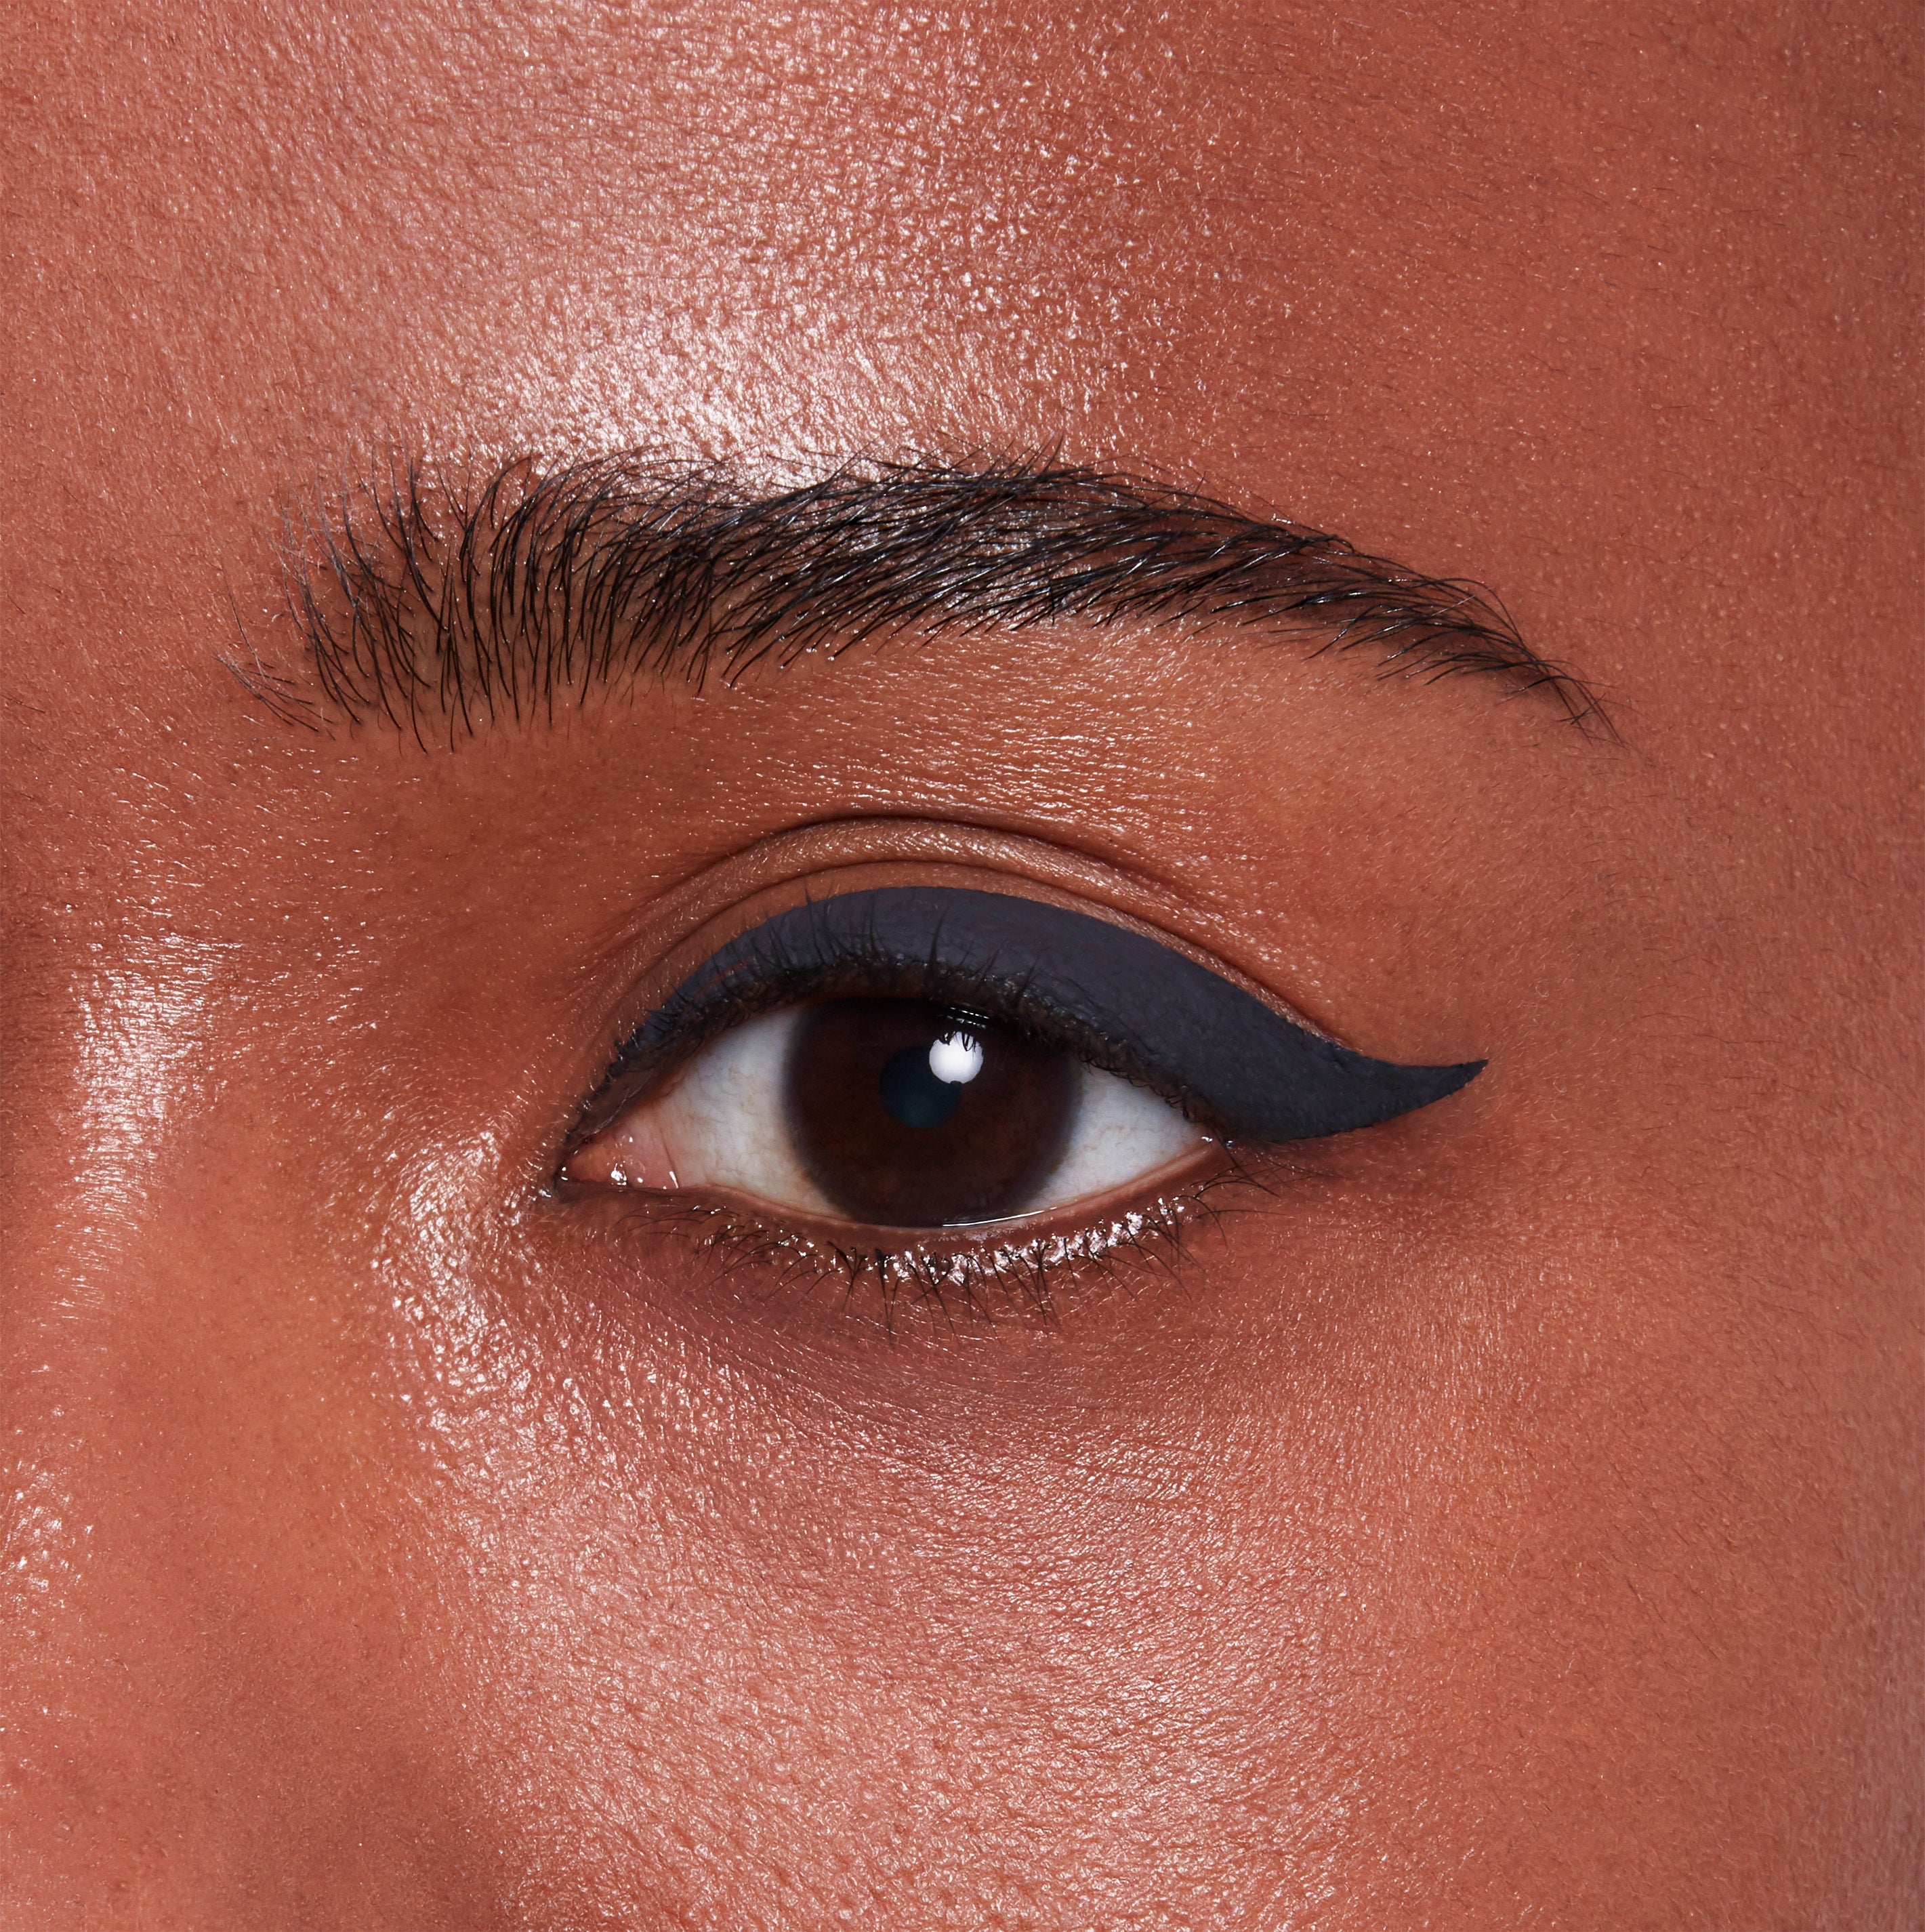
How to do a classic cat eye:
-
Pull your skin taut to make the eyelid flat, firmer and easier to draw along using the eyeliner pen.
-
Starting from the outer corner, glide the liquid liner’s felt tip toward the center of your lash line. Do the same from the inner corner, connecting in the middle.
-
Build the cat eye wing layer by layer using light, repetitive strokes.
-
Finish by using an eyelash curler to build voluminous lashes and then apply our Extreme Length Mascara + Primer
Daniel Martin’s pro tip for a bold cat eye winged eyeliner:
The thicker the line, the bolder the statement — but start with a thin line to build a guideline you can build off and refine later, layer by layer. It’s easier to add more than takeaway to get that classic cat eye just the way you want it.
Look 3: The Glam Wing
This is where you can get really creative with your winged eyeliner — there are no rules in makeup except the ones you make up! This glam take on the classic cat eye is both daring and delicate, adding unexpected dimension to your look. Better yet, it looks stunning on every eye shape!


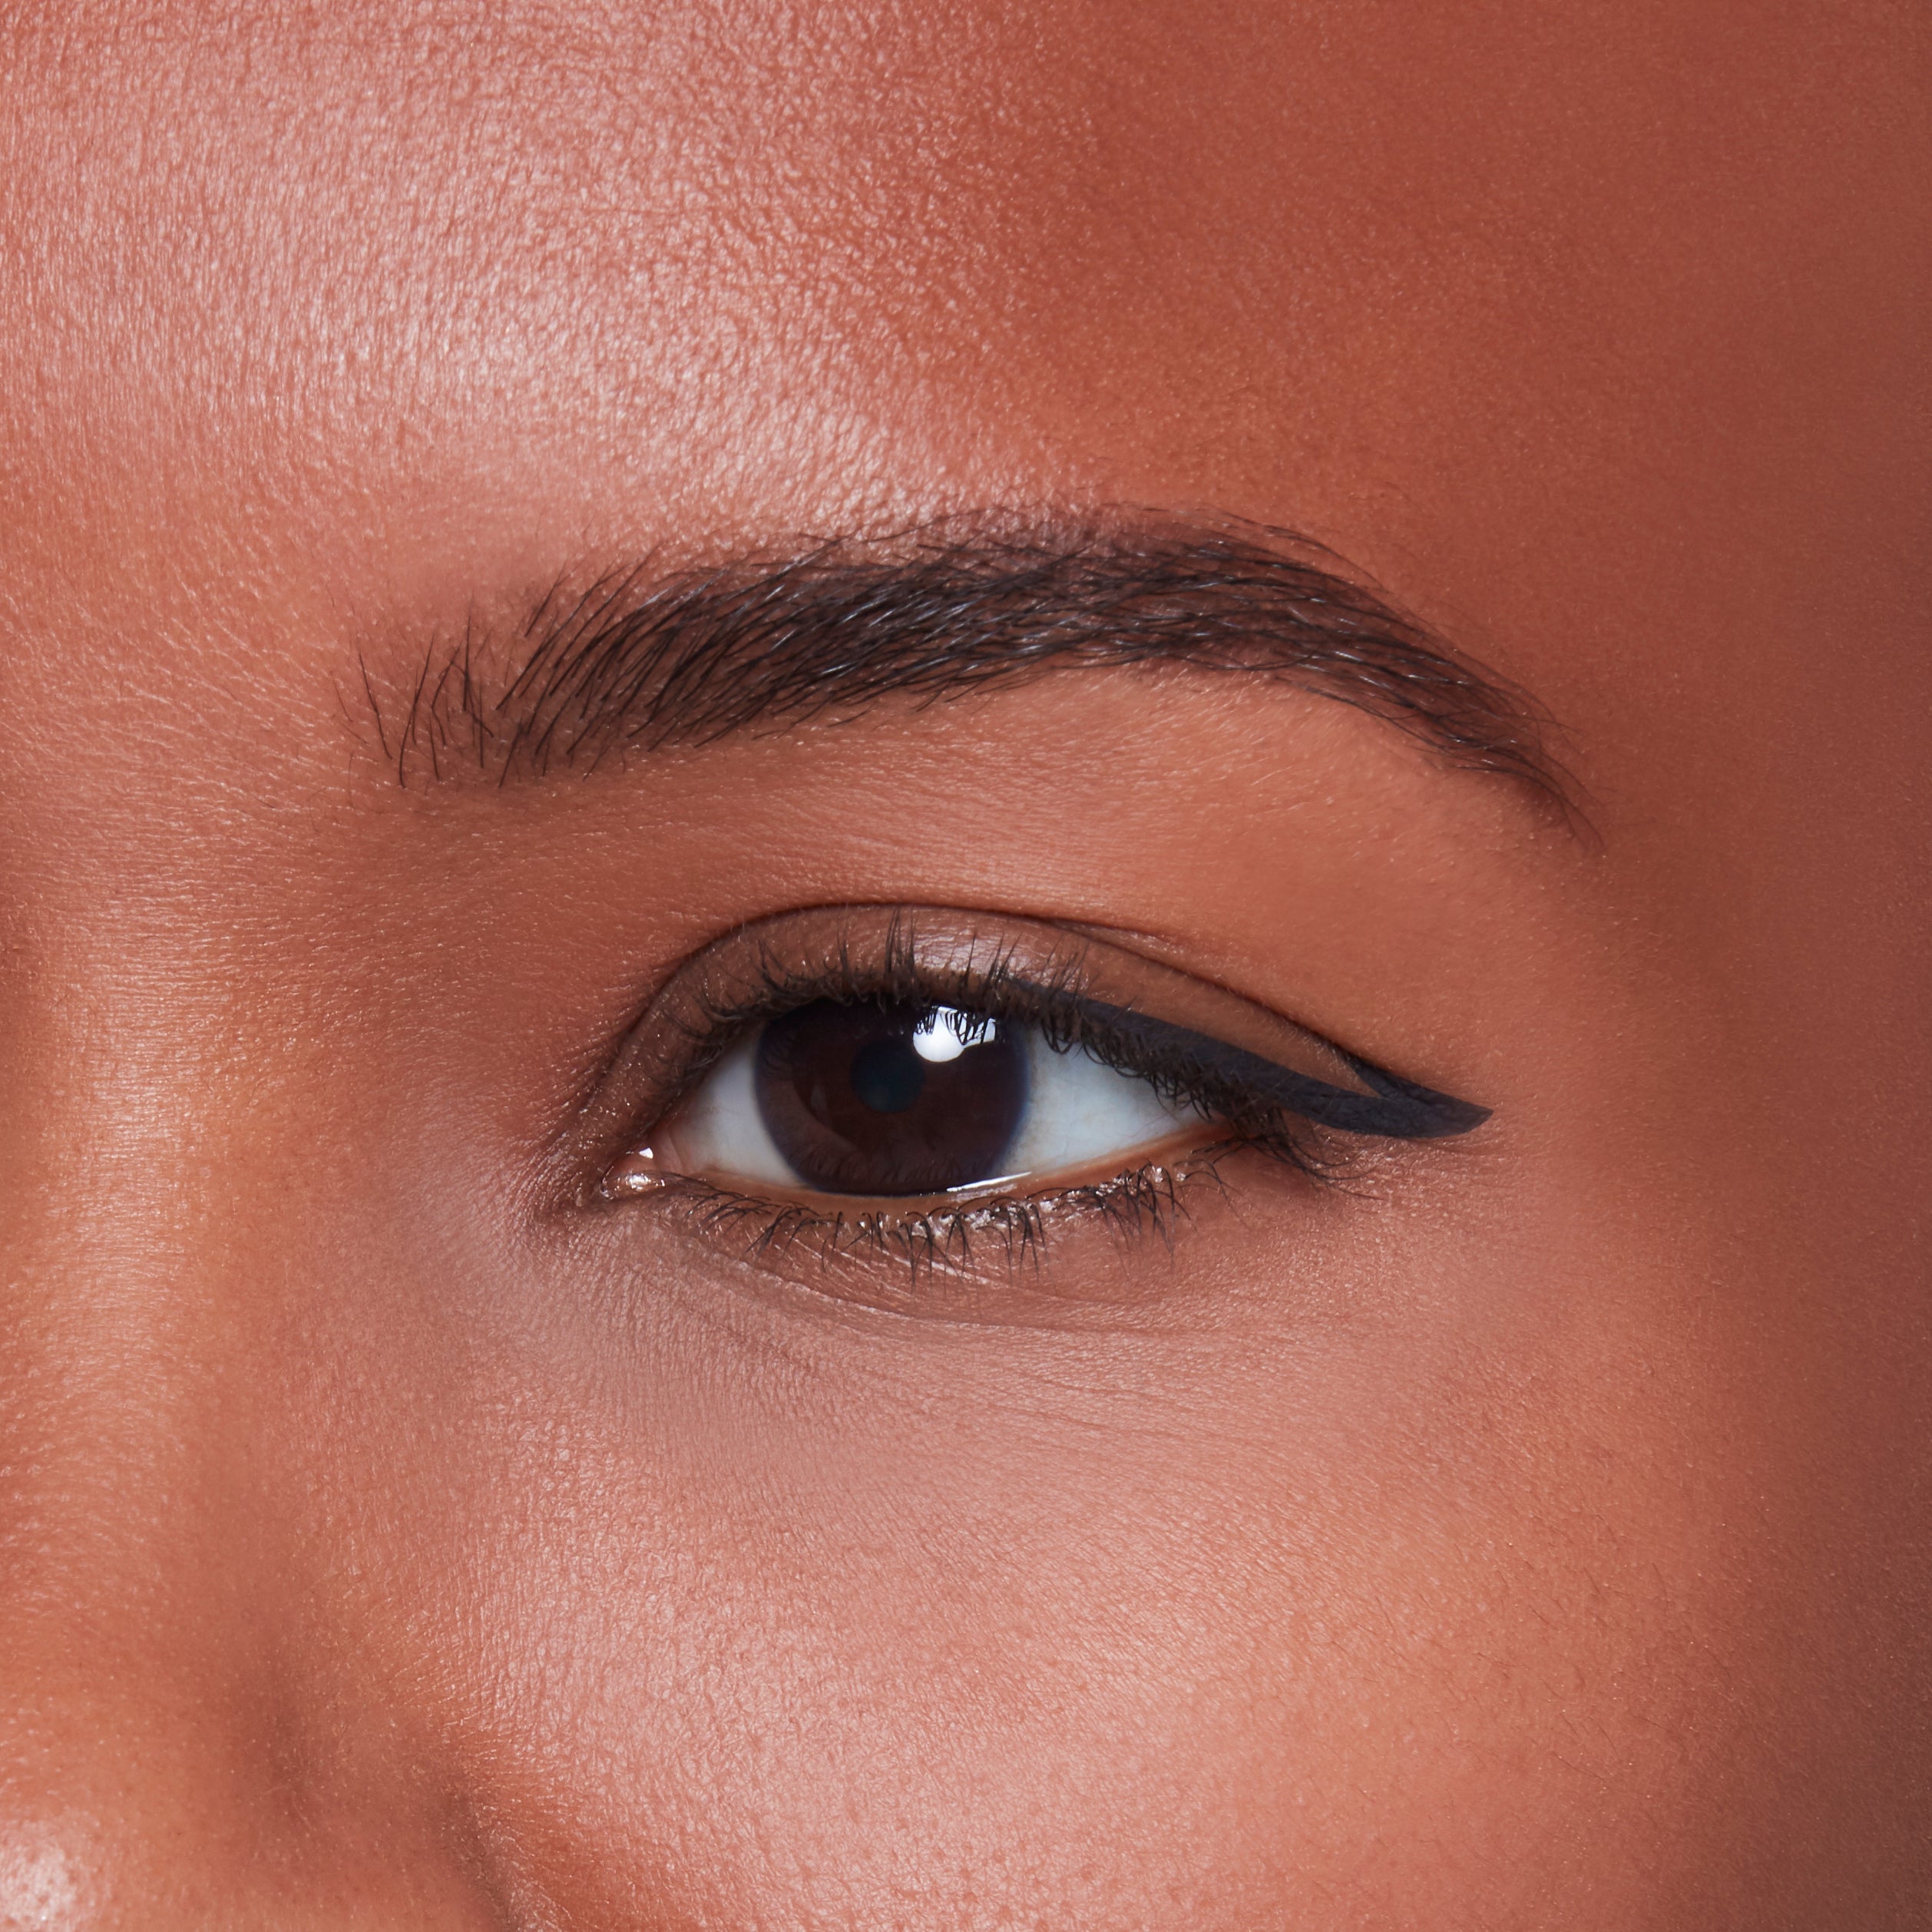
How to get glamorous with liquid liner:
-
Find your crease just above the outer corner of your eye and draw a short line inward.
-
Connect the outer corner of that line to your lower lash line.
-
Pull toward the center and extend to the inner corner to complete your guide.
-
Once you have your guide in place, keep layering until you get the thickness — and level of glam — that you want.
Daniel Martin’s pro tip for a glam look:
Rock this look without eyeshadow or mascara for a more modern, minimalist clean glam look.
Look 4: The Straight Eyeliner
OK — this isn’t a winged eyeliner look, per se. But mastering a straight line with liquid liner to make eyes appear more defined takes a little know-how, too.


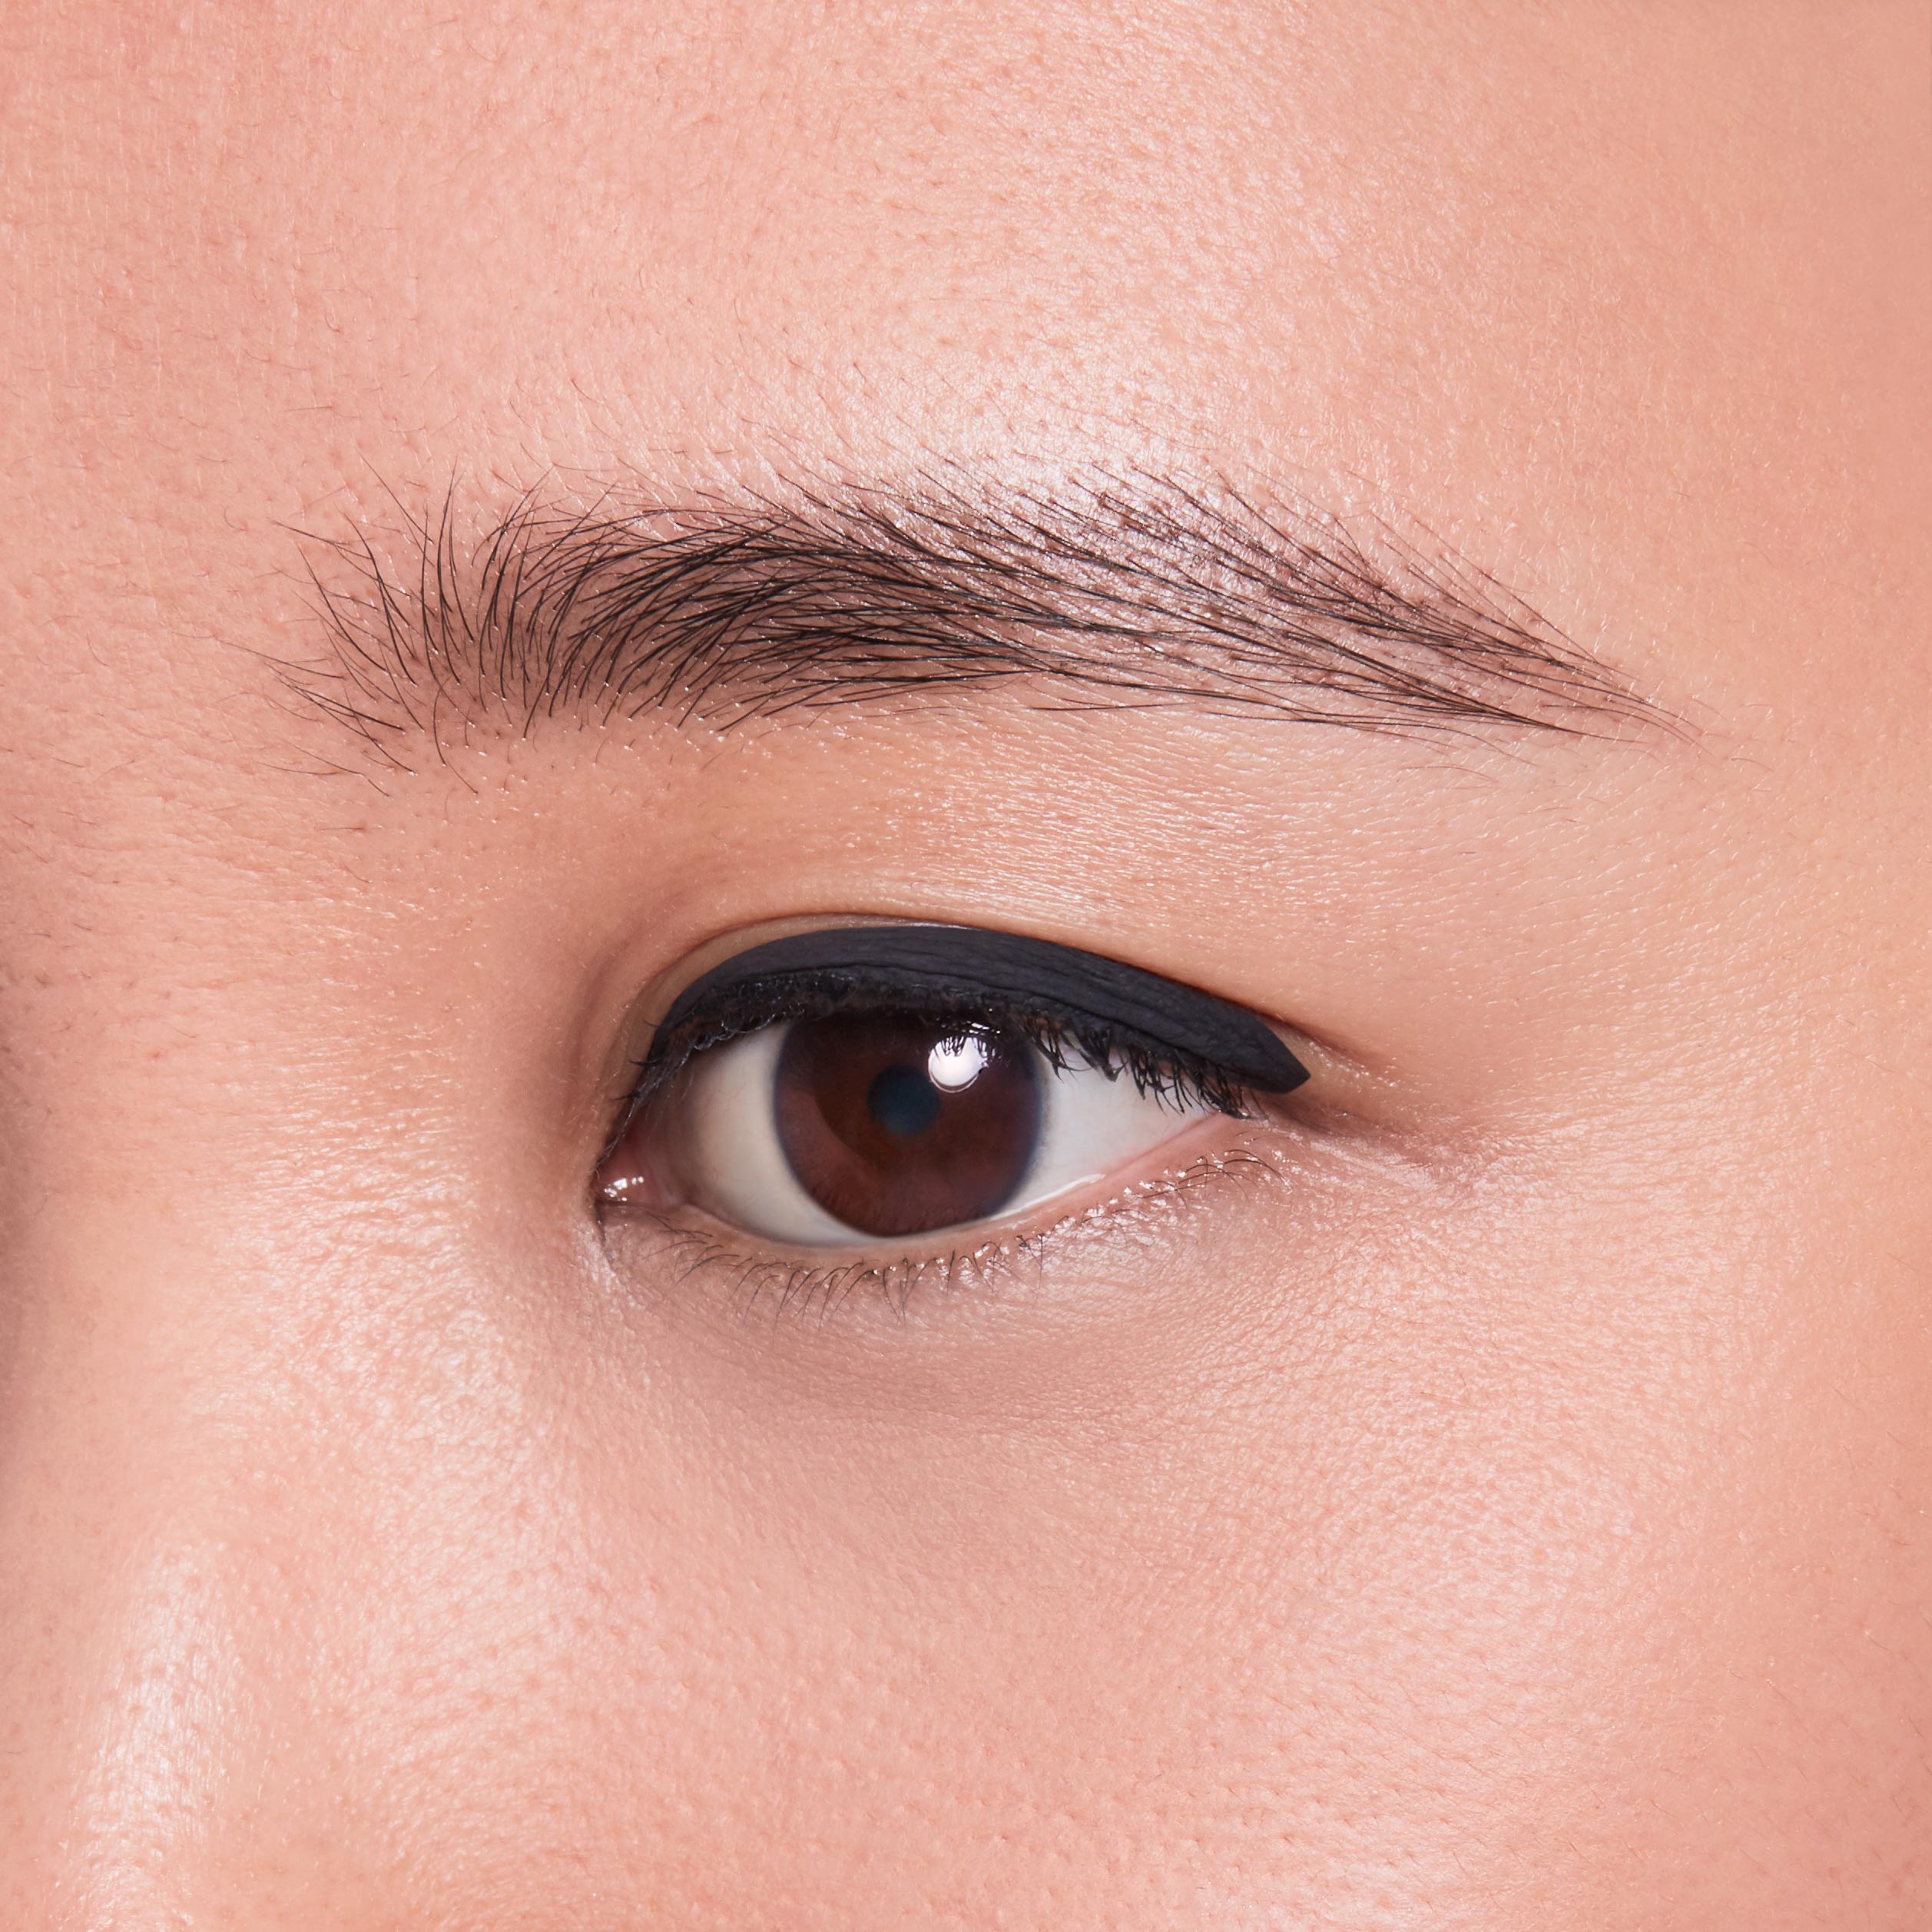
How to apply straight eyeliner for more defined eyes:
-
Use short strokes all the way across the lash line, from the outer to inner corner.
-
Add layers to build thickness a little at a time.
-
Stop before the line is so thick it gets into your crease.
Daniel Martin’s tip for liquid eyeliner:
Remember, it’s only makeup! You can clean it up, take it off and start all over again
How Honest Beauty’s Liquid Eyeliner Creates a Clean Wing
The best liquid eyeliners don’t just create a precise, smudge-free line but are made with clean ingredients. To us, that means getting inky black color without using carbon black (sourced from coal tar), oils or parabens in the liner's formula. Developed with plant-derived ingredients, our vegan, hypoallergenic, and cruelty-free (duh, always) Liquid Eyeliner is redefining high-impact definition with a rich, seamless, 8-hour line that doesn’t smudge, budge, flake or transfer. (Re)define your line with winged eyeliner the clean way.
DISCLAIMER: Content on this site is for informational purposes only and is not a substitute for professional medical, dietary, or safety advice. Always consult a qualified professional about any medical condition or safety concern. Reliance on site content is at your own risk. Third-party contributed content reflects their own views, not those of The Honest Company, and we do not endorse or guarantee its accuracy or effectiveness.


