Gallery walls are a great way to personalize your space and display your favorite family photos, children’s artwork, or an eclectic mix of images and art. While the finished product is high impact, getting it to be museum-worthy can be tricky. Here’s our step-by-step guide (including some great tips and tricks) to help you along the way without leaving your wall looking like Swiss cheese.

Materials:
- Scissors
- Tape
- Pencil/Pen
- Hammer & Nails
- Level
- Paper Bag, Newspaper, or Butcher Paper
- Measuring Tape, Ruler, or Sticky Notes
- Mounting Tape or Putty
Steps:
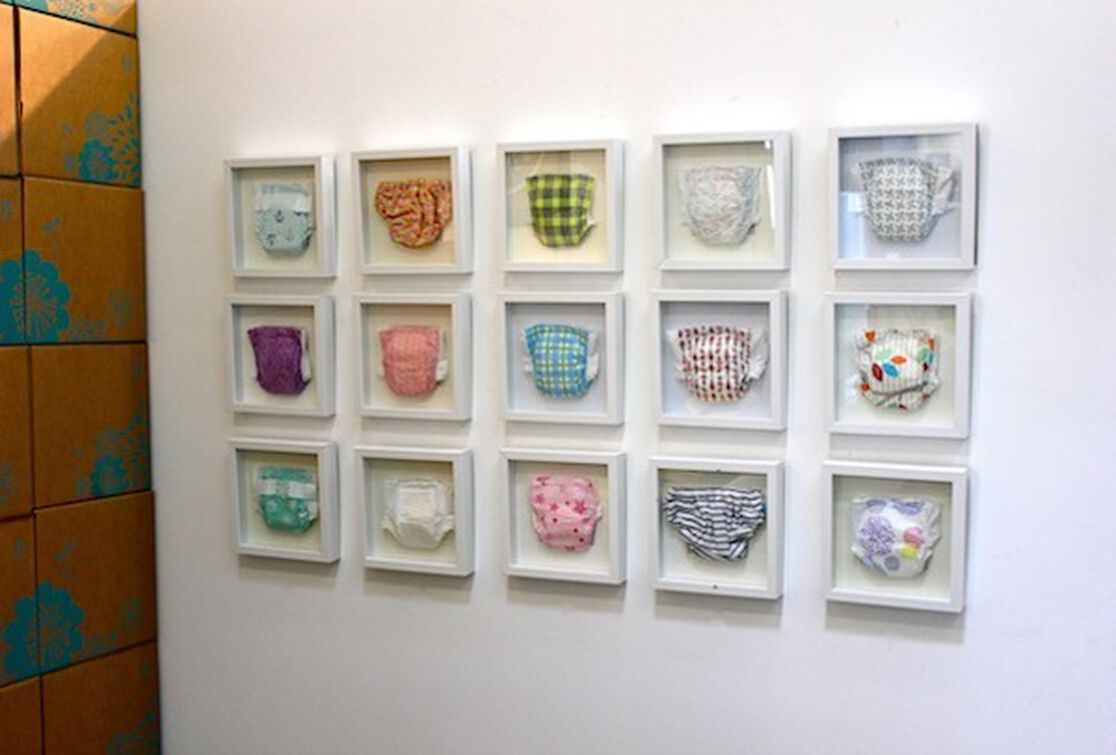
1. A simple grid pattern using square frames is the easiest of all gallery wall configurations. However, there are many ways you can organize your photo wall. Consider the size of your wall when selecting the frames you want to use.


2. Trace the frames you plan to hang onto paper grocery bags, newspaper, or butcher paper to create a template. Cut the templates out. Align the template with the frame and mark the hanger or wire’s spot—this will be your guide for nailing the frame to the wall.
3. Lay your paper templates out on the floor and play with the configuration of frames until you come up with a combo you like.
5. Number your frames in the order you have arranged, moving clockwise and clearly marking which frame you want to be at the center of your gallery wall. (this is a great tip if you’re using different frame sizes and styles). Take note of the space between design. Keeping the space between the frames consistent helps create a more finished look.
6. Next, measure the wall and mark its center point. Tape the template you marked as your center to the wall here.

7. Tape the remaining paper frames to the wall according to your numbered design. When affixing the templates to the wall, we used sticky notes between the frames to keep the distance between each consistent. This is a trick so you don’t have to worry about being overly precise with a ruler. We are big fans of using items you have at home.

8. Check that your templates are level. Nail through your paper template, using the marked hole as the guide.

9. Remove the paper template as you mount each of your frames onto the wall (use a level and mounting putty to keep frames straight).

Voila! You now have a beautiful gallery display that will be a great focal point in your home (or, in our case, a diaper wall of fame!).
Sign up for free at Honest.com and get $10 off your first purchase only using code DIY10OFF. Limited to one per customer. Coupon code expires May 1, 2013.
We aim to provide you with the most honest and credible information possible. This article was reviewed for accuracy by The Honest Team and was written based on sources that are linked at the bottom of the article.
blog_review_statement