
When I was pregnant with my first baby, the search for a nursery chandelier left me underwhelmed. When I did find one that caught my eye, the price tag caused my jaw to drop. I knew I had high expectations but that was no reason to break the bank. After weeks of failing to find the nursery's wow factor, I decided to do what I do best. Create it myself.
Shade Selection
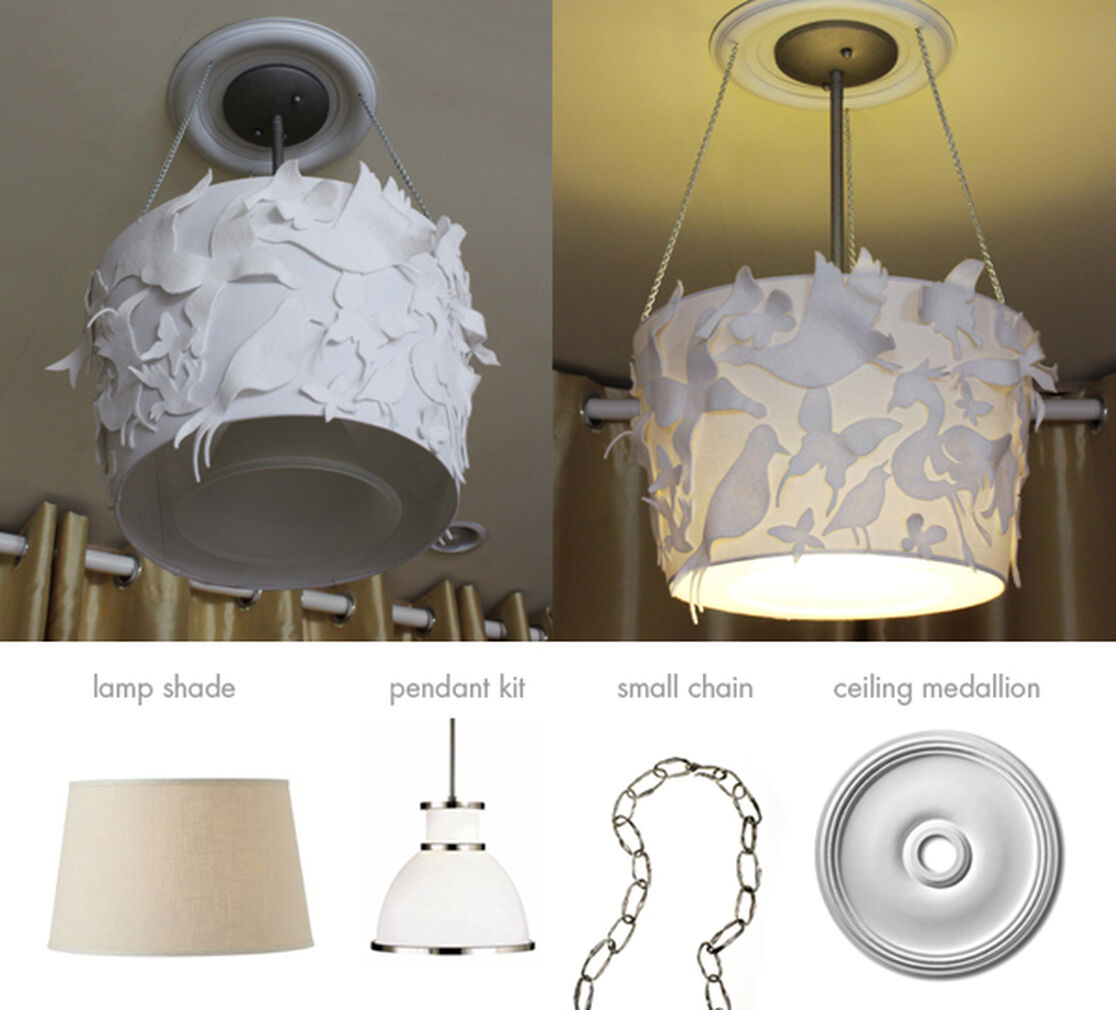
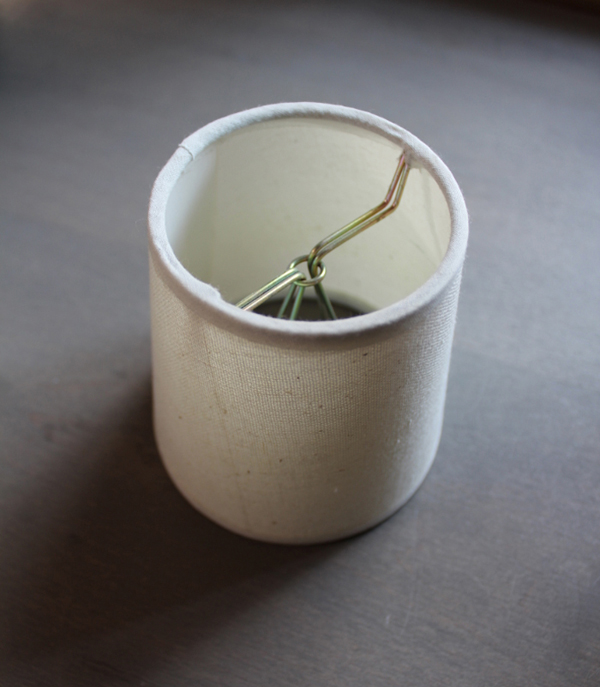
To begin, select a lampshade. You may consider an existing lamp in need of an upgrade or one hiding in storage. The great thing about lamp shades is how interchangeable they are with new and old bases. There are no rules in upcycling. The main idea is to repurpose, reuse & recycle!
Felt Selection
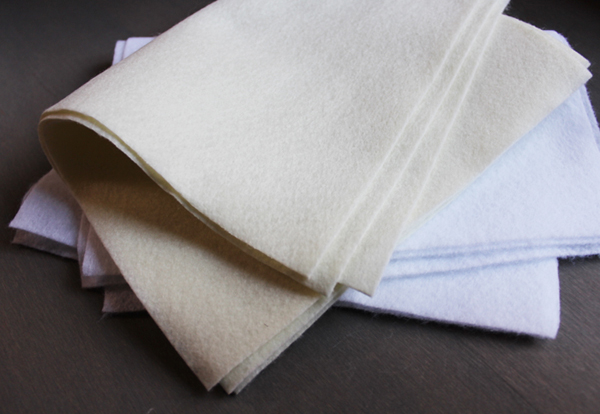
I've found that the thicker the felt, the better. A thicker material is easier to cut and mold (once you reach the glue stage). I tend to keep my color palette simple. Matching the felt and shade colors places emphasis on the shapes themselves. But again, there are no rules so feel free to have fun with color!
Supplies
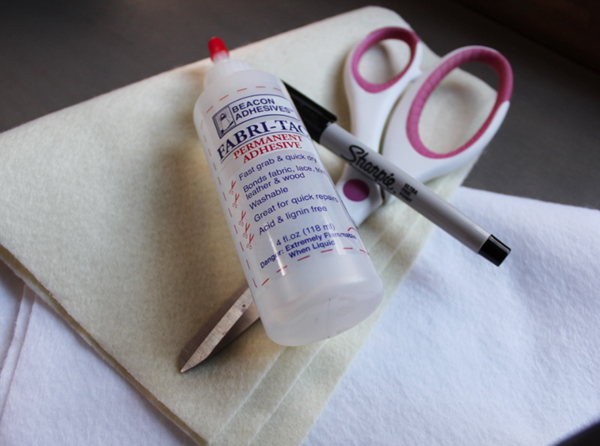
Aside from the shade, there are only three necessary supplies. A pen/pencil for tracing shapes onto your felt, a pair of scissors for cutting out your shapes, and fabric glue to affix each shape to your shade. I've since realized that a pencil works best because it takes a lot more patience to cut inside the dark black line left by a marker.
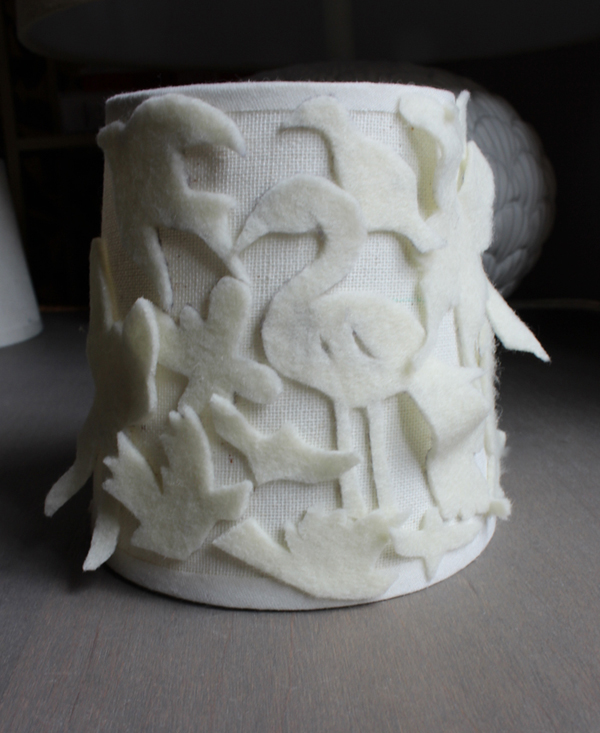
Theme
Now the fun part. Depending on your room décor you may already have a theme in mind. The reason I chose birds was for their whimsical nature and ability to perch themselves upon things (also perfect for celebrating Earth Day and conservation). Some other themes to consider: jungle, circus, transportation, robot, farm...the possibilities are endless. Just make sure that you have enough recognizable shapes in your theme. Alternate the size of your shapes to create interest.
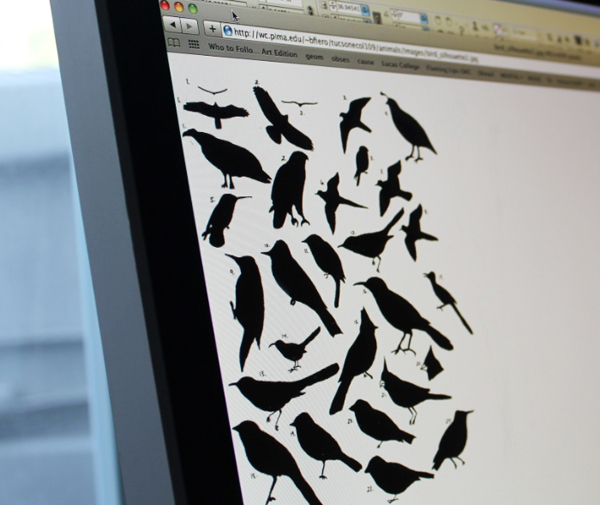
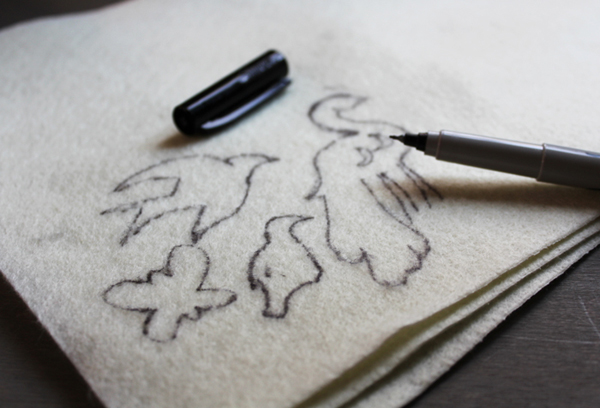
Sketching
Now, I know a lot of your are thinking: "You expect me to draw each shape by hand?" My answer would be, YES! You don't have to be Rembrandt to draw these cute, simple shapes. Have fun with it. Remember, you can always start over if you slip up. Have a light box handy? A light box will allow you to trace each shape from a computer print out of your silhouettes.
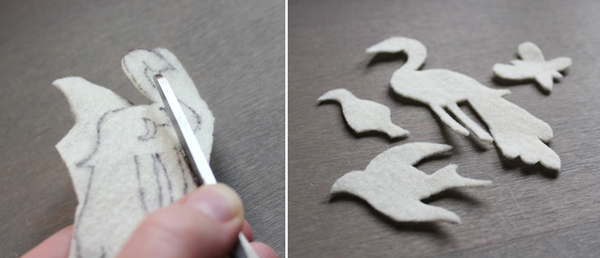
Cutting
I suggest sketching and cutting about 5 or 6 shapes at a time. This way you can decide on the best arrangement before selecting which shapes/sizes to sketch next.
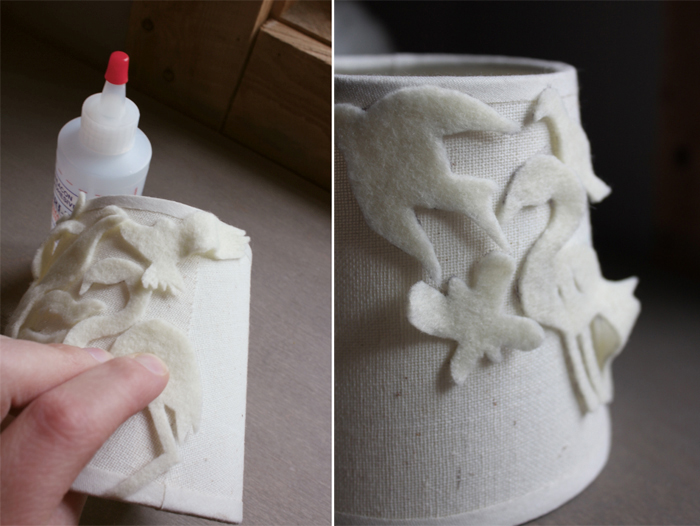
Applying Shapes
This step takes little effort and allows for a lot of creativity. Apply a tiny dab of glue to the center of your shape before placing it onto your shade. Press down as it takes a few moments to adhere. Mold/bend the outer edges and glue as you see fit. You'll notice how each bird comes to life and gives the shade a sculptural quality.
Finishing
Repeat the step above until you have covered your shade.
~ Amber Osterhout
Amber Osterhout is a former creative/art director, full-time mom, part-time artist/photographer, and blogger at Obsessivision.com. She began blogging as a way to categorize her various design projects, photography, food creations, DIY tutorials, and other interests. She also creates abstract fine art prints from photography and other mediums available at her Etsy shop. Follow her on Facebook for more inspiration.
We aim to provide you with the most honest and credible information possible. This article was reviewed for accuracy by The Honest Team and was written based on sources that are linked at the bottom of the article.
blog_review_statement