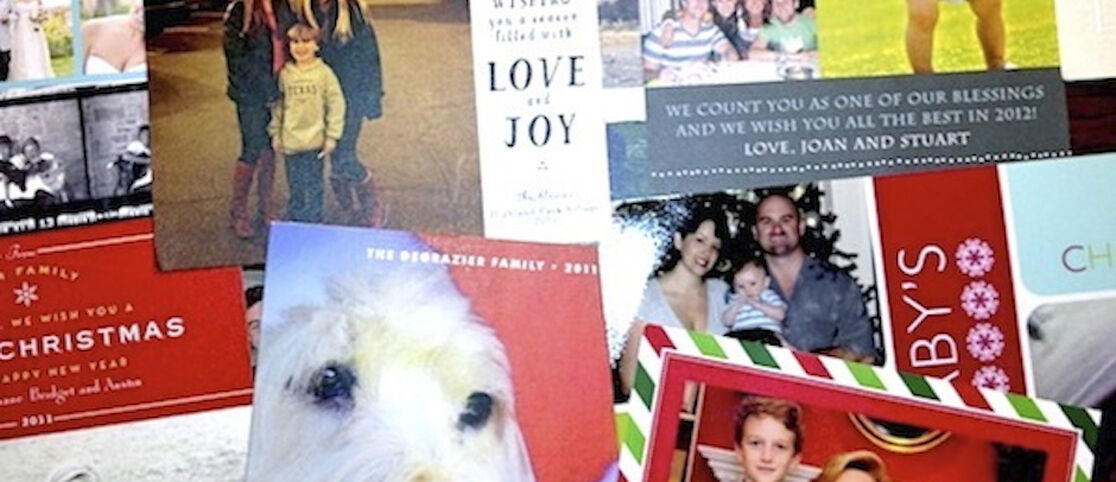
Although the holidays are behind us, no one wants to let go of the sweet memories from 2012. So, we've come up with a clever craft that allows you to preserve the cheer of the year and the great holiday cards sent by your family and friends. Instead of tossing the paper and packaging you've collected over the last month, upcycle the materials to make an easy DIY book to store those cards and other mementos. It's a great winter break activity to do with your kids—together you can reminisce about all the family fun you had during 2012.

Materials
- Holiday cards, photographs, and/or other mementos
- Hole punch
- Ribbon, twine, loose-leaf rings, or whatever you have on hand to bind your book
- Card stock or flexible cardboard (department store or cereal boxes are a great option)
- Glue or tape
Steps
1. Gather all your holiday cards from 2012, photos, or keepsakes that you want to save.

2. Sort your cards and other items so they face the direction you think is easiest to view them when flipping through your book. Set aside your family’s holiday card to use for the book cover.
3. Measure the biggest card you received and then add one inch to the height and width. These will be the dimensions for your front and back covers.
4. Measure and cut 2 pieces of card stock according to your dimensions.

5. Adorn the front cover of your book with your family’s holiday card using natural glue or tape (decorative washi tape could be a fun addition). If you don’t have a family holiday card, you can decorate the cover with a favorite greeting card, festive paper, fabric scraps, an inspiration quote, your children’s artwork, or whatever you like. We chose to mount our favorite holiday card on white waffle paper using an eyelet in the top right and left corners so we can still open the card.
6. Hole Punch your cards and any other inserts. You can either hole punch your cards once in the top left corner or hole punch your cards twice at both corners depending on how you want to open your book.

7. Use ribbon, twine, or loose-leaf rings to bind your book of cards together.
8. Have fun, personalize, and make this yearly tradition your own! Consider adding a family note reflecting on the year’s shining moments; a quote from each family member; or random facts about the family’s favorites for the year. It’s a great time capsule to look back upon year after year.
We aim to provide you with the most honest and credible information possible. This article was reviewed for accuracy by The Honest Team and was written based on sources that are linked at the bottom of the article.
blog_review_statement