 One of the first “eco” things I ever did was recycle. It wasn’t really anything big, but as a child it was meaningful especially when NYC adopted a program in the 80s that required you to organize plastics, paper, and metals into bags separate from trash. The program and I have come along way since then—I now go beyond placing items in a recycling bin and try to reuse items like paper, tins, or old shirts and turn them into crafts.
In high school, this was particularly fun because I would cut out pictures from Sassy or YM and place them all along my wall – collecting and adding more images as new interests developed. As a mom, this has evolved into collage art, especially after I took a fun mixed medium course to learn more techniques. Through this course, I learned how to make stamps, experiment with paper, and create with the amazing sealant Mod Podge.
For my daughter this has transitioned to creating fun art projects together—from making old toilet paper tubes into musical instruments to making wall collages for her room. Whether I realized it or not, we are doing our part by turning old materials into crafts that are personal and unique and that reduce waste.
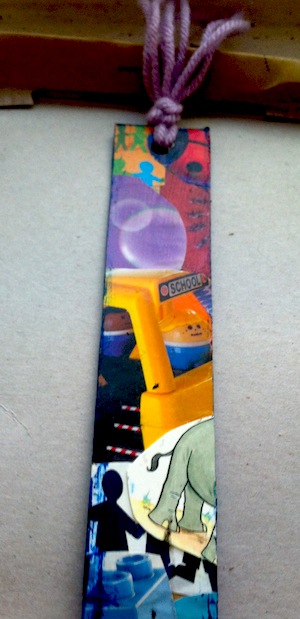
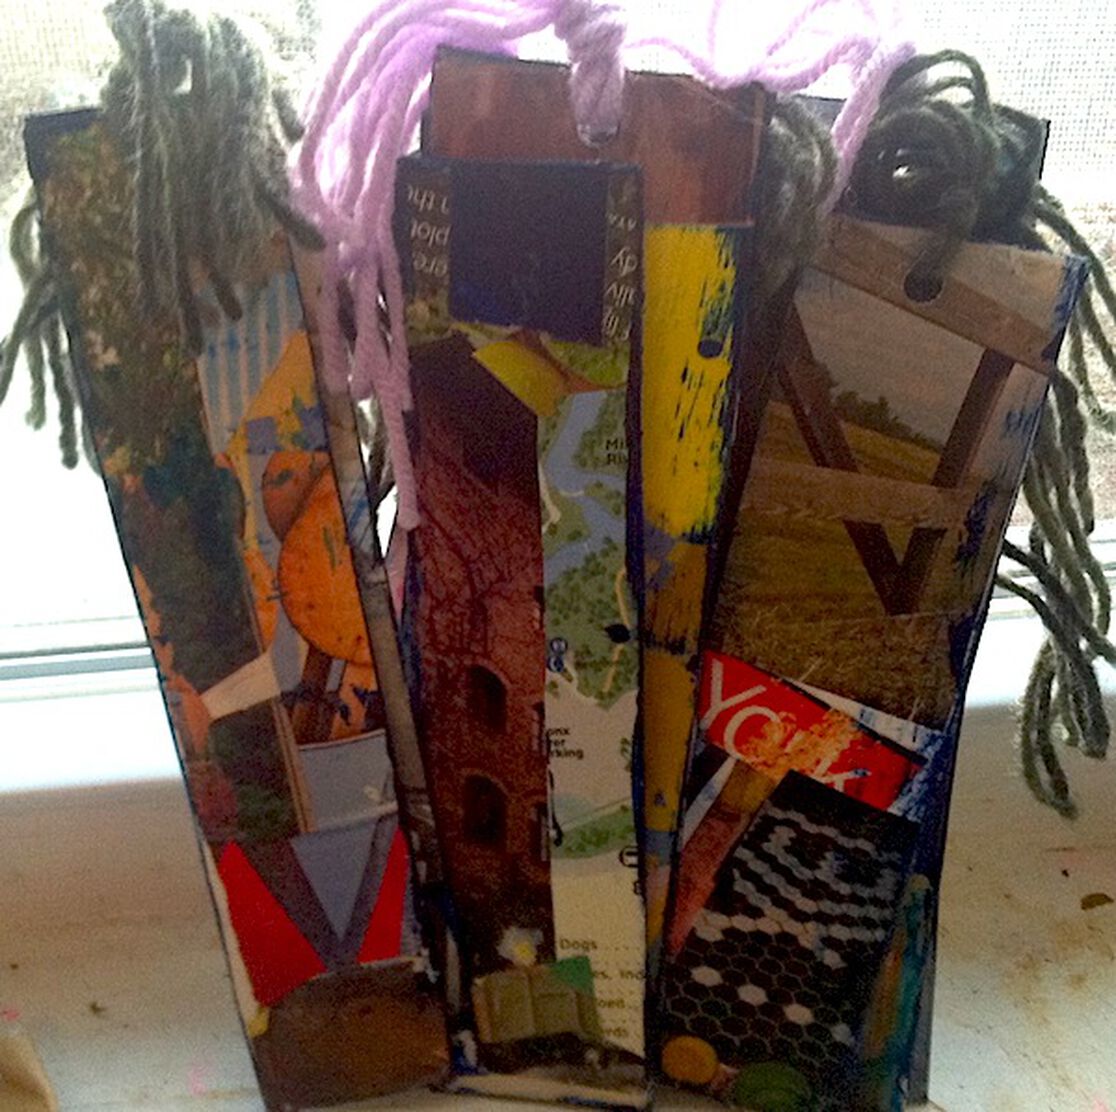
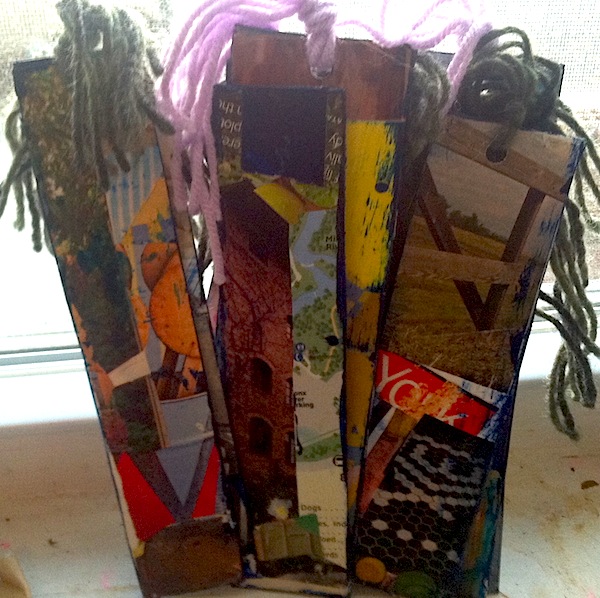
Recently, I’ve started doing some side crafts of my own by making bookmarks. Essentially using old cardboard, magazines, and some Mod Podge, these bookmarks are a great way to tell a personal story that showcases your interests, serves as creative inspiration, and gives old materials a second-life. Recycling through art is a great way to relax, explore, and use your imagination without even realizing that you’re also helping our environment.
Materials:
- Various pieces of cardboard
- Magazines, newspapers or any old papers
- Scissors
- Mod Podge
- Paint Brush – I personally love foam brushes for even distribution
- Hole Punch
- Colored Yarn
- Paint (if desired)
Directions:
- Cut up a long piece of the cardboard – about 2 inches.
- Look through a collection of magazines and cut our your favorite pictures.
- Use the Mod Podge as a glue to place the magazine pictures on the cardboard.
- Have fun and mix it up with your own personal look and style on both sides.
- When it dries, lightly paint in the areas that are not covered.
- When the paint is dry, cut a hole in the middle.
- Coat the bookmark on both sides in Mod Podge to seal in and tighten the pictures.
- When dry (about 3-5 hours), loop string through the hole and you are ready to start reading.
~ Serena Norr
A Brooklyn-based writer and mom of two, Serena Norr believes living naturally doesn’t have to be all or nothing. Serena also serves the managing editor of Momtrends and the creator of Seriously Soupy, a Web site devoted to soup making. She loves to cook, travel, explore the city with her kids and learn more about green living, which she chronicles in her blog, Mama Goes Natural. Follow her on Twitter as @MamaGoesNatural.
We aim to provide you with the most honest and credible information possible. This article was reviewed for accuracy by The Honest Team and was written based on sources that are linked at the bottom of the article.
blog_review_statement


